

Introduction: Why Personalize Your EV’s Interior?
Electric vehicles are not just transportation — they’re a way of life. As an owner of an EV who appreciates innovation (and therefore depends on a dependable ShockFlo EV charger), you already know and care about tech and efficiency.h. Now it’s time to extend that mindset to the place you spend time every day: the cabin.
While CarPlay and ambient lighting personalize the digital experience, your physical interior often remains generic. Direct-to-Film (DTF) printing changes that. DTF makes it possible to create highly durable, full-color custom floor mats, cushions, and other accessories that match your car’s style — or the design of your charging station — for a unified, premium look.
This guide explains what DTF is, why it’s ideal for EV interiors, creative ideas, a practical DIY workflow, and how to get pro-level results using quality equipment and consumables.
What is DTF Printing — and Why It’s Perfect for EV Interiors
DTF (Direct-to-Film) printing is a transfer method where a design is printed onto a PET film with textile inks, coated with an adhesive (hot-melt) powder, cured so the powder fuses to the ink, and then heat-pressed onto fabric or compatible surfaces.
Why DTF is a great fit for EV floor mats & cushions:
- Unmatched durability: Properly produced DTF transfers resist abrasion, flexing and washing — essential for floor mats and well-used cushions.
- Material versatility: DTF adheres to many common interior materials: woven/polyester mat tops, canvas, faux leather, and some coated textiles.
- Vibrant, photo-quality prints: Achieve gradients, photographic detail, logos and color-matched themes (think matching your ShockFlo station colors).
- Small-batch friendly: No screens or plates — ideal for single pieces, prototypes, or limited runs.
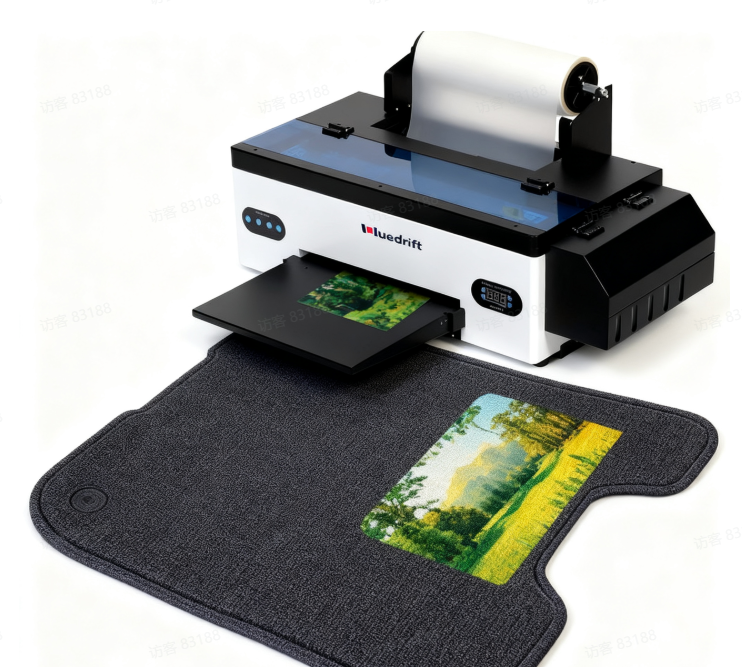
Creative Ideas for Your DTF-Printed EV Interior
- Branded Floor Mats: Add your company logo, the charging station artwork or even a QR code that links to charging instructions, or loyalty plans
- Themed Cushions: Match cushions to your EV’s paint, CarPlay wallpaper or the style of your garage/charger to complete the look.
- Tech-inspired style: Circuit-board designs, “Fully Charged” taglines, or silhouettes of your specific EV model.
- Personal touches: Monograms or pet portraits on the passenger cushion, or a stylized map of a favorite route.
Use case: Now picture yourself getting into your EV after charging at home, in a custom floor mat that visually mirrors the design of the ShockFlo charger – a tiny but memorable brand ecosystem.
Make Your Own DTF Printed EV Accessories: How to Guide
This workflow is suitable for small shops or confident DIYers. Always run tests on scrap material before finalizing.
Step 1 — Design your artwork
- Work at 300 DPI or higher. PNG with a transparent background is ideal.
- Simplify extremely fine details and thin text for textile reproduction.
- Mirror (flip horizontally) your design if your transfer workflow requires mirrored printing.
Step 2 — Print onto DTF film
- Use a dedicated DTF printer to output the artwork onto PET transfer film. The printer will handle a white underbase when printing for dark substrates.
Step 3 — Apply adhesive powder
- Dust hot-melt adhesive powder uniformly over the printed portion while the ink is wet. Tap off excess powder according to manufacturer’s instructions.
Step 4 — Cure the film
- Undergo curing in a tunnel drier or oven to melt the powder and fuse it to the ink. The powder changes from matte/grainy to glossy/transparent — that is a visual indication that it is ready.
Step 5 — Heat-press onto your mat or cushion
- Warm up and pre-press the substrate to take out the moisture and to smooth out the surface.
- Place the (cured) film (design side down) exactly where you want the transfer.
- Apply heat and pressure with a heat press.Recommendations of the manufacturer’s vary on the material; typical starting points (test and adjust):
- Polyester/canvas top layers: ~150–160°C (302–320°F) for 12–20 seconds with medium pressure.
- Faux leather / coated surfaces: ~150–165°C (302–329°F) for 15–25 seconds with medium pressure.
- Use the cold peel method in most cases — let the item cool completely before peeling to maximize adhesion.
- Optional: a quick second press (5–8 seconds with a protective sheet) can soften the hand feel.
Crucial: Parameters depend on film, powder, substrate thickness and press — always test on samples.
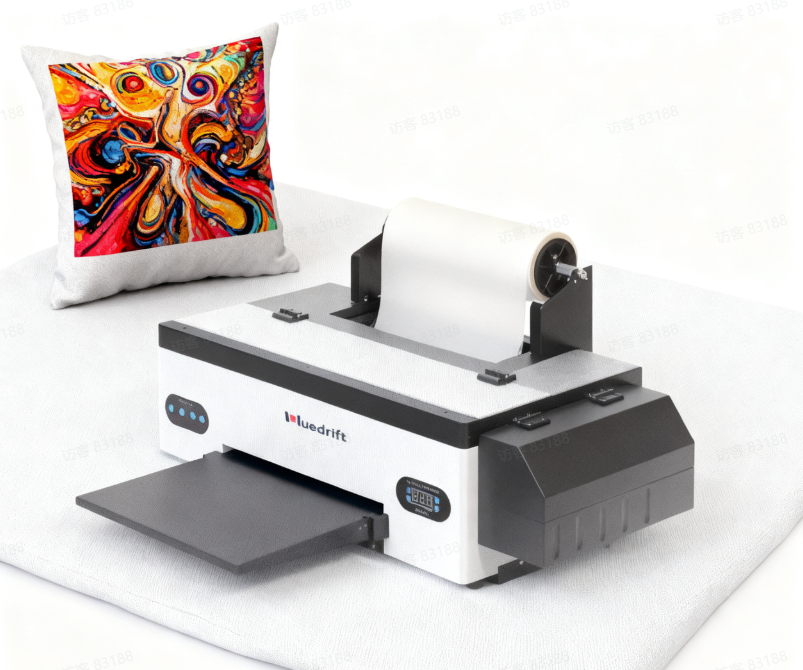
Achieving Professional Results: The Role of Quality DTF Equipment
DTF gives great results, but reliability depends on the entire system which includes the printer, inks, film and powder. Cheap or incompatible consumables may result in clogged nozzles, bad adhesion, color shifts and accelerate wearing.
For dependable, small-scale production of automotive-grade results, look to proven